Voice In is an essential tool designed to elevate your productivity and accessibility by transforming your speech into text instantly. With Voice In, you can effortlessly dictate into over 10K+ websites, including apps like ChatGPT, Gmail, Google Docs, and Twitter. Plus, it supports dictation in more than 180 languages. In this guide, we’ll walk you through the process of enabling voice typing in Google Chrome using Voice In.
How to enable Voice Typing in Google Chrome
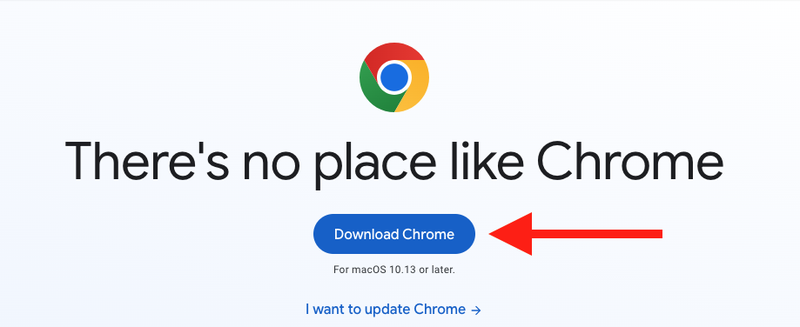
- Install Google Chrome: Ensure you’re using the Google Chrome browser. If not, download it here.
- Install the Chrome Extension: Visit the Chrome Web Store. Search for Voice In - Speech-To-Text Dictation to locate the extension.

-
Voice In Set Up: After installing the Chrome extension, you’ll be directed to the set-up page. Follow the provided set-up instructions.
-
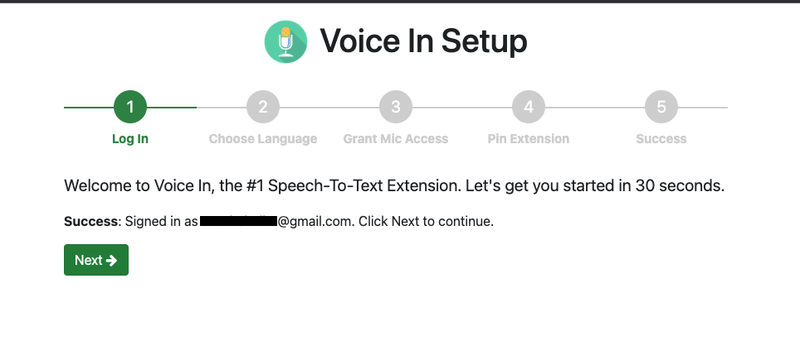
Log In: Sign in using your Google account. You might already be logged in if you signed into your Google account during the extension installation. If so, simply proceed to the next step.
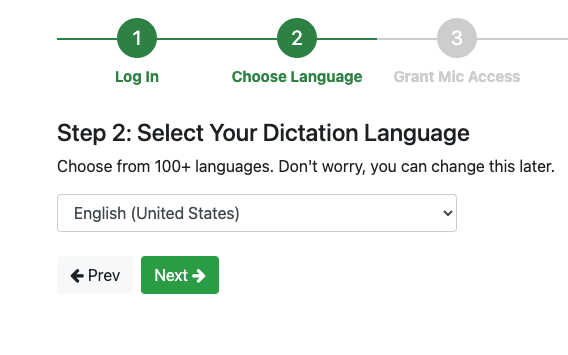
- Select your Dictation Language: Select a language of your choice. Remember, you can revisit the settings later to change your chosen language if needed.
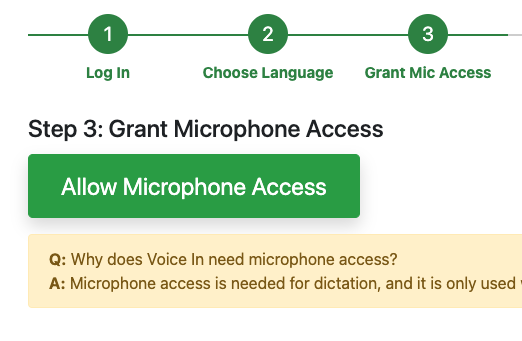
- Grant Microphone Access: Voice In needs microphone access for dictation, and it is only used when you are dictating using Voice In.
- Press the “Allow Microphone Access” button.
- A pop-up will appear on the top-left corner of Chrome, requesting you to enable microphone access.
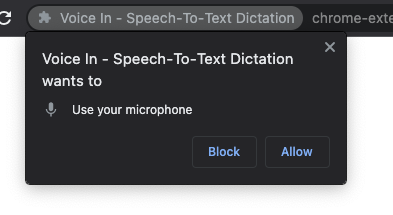
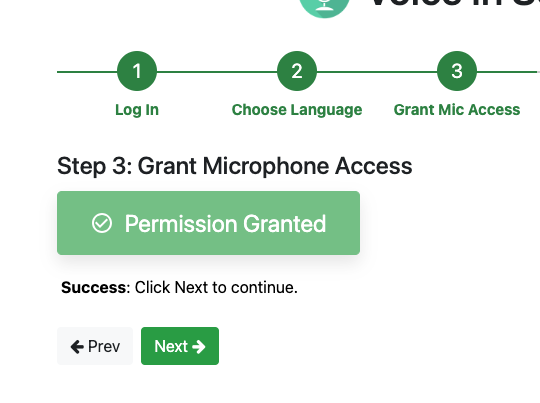
- Select “Allow.“Once granted, the button will indicate “Permission Granted.” Click on “Next” to proceed.
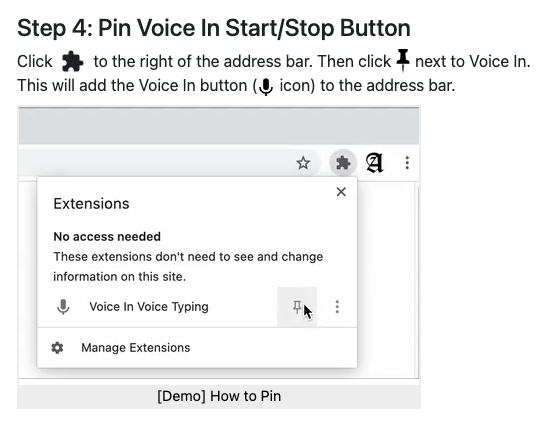
- Pin to Chrome: Click on the icon that looks like a grey puzzle piece in the address bar’s extension. Then, select the pin icon next to “Voice In” to add the Voice In button to the address bar.
There you have it! Voice typing is now activated in your Chrome browser.
Voice In lets you use your voice to type on 1000s on websites, including Gmail, ChatGPT, Google Docs, Notion, etc.